


The mid term pop quiz ---
Look carefully at both of the layouts in the preceding post. The one with spacing of 1 1/2 inch and the one with the spacing of 7/8 inch. Can you see why you would not want to use either of these spacings to set the width of you pleats?
Well in the spacing that is 1 1/2 inch the spacing is simply too large to keep the look of a traditional kilt. Pleats spaced this far apart look too rugged.
And the spacing that is 7/8 inch has a problem too. Look closely where the lines of the grid cross the Tartan pattern along to top of the fabric strip. See how the lines are right at the edge of the small red lines? If I were to fold my pleats with these red lines right along the edge of the pleat they would disappear as I taper the pleat in the Fell area.
A general rule is that you do not want an element of the Tartan pattern right on the edge of a pleat. As soon as you narrow to pleat to create the taper you will lose that element and the overall effect of the Tartan will be destroyed.
So OK, let's go back to moving the fabric piece and see if we can find a place that will work better.
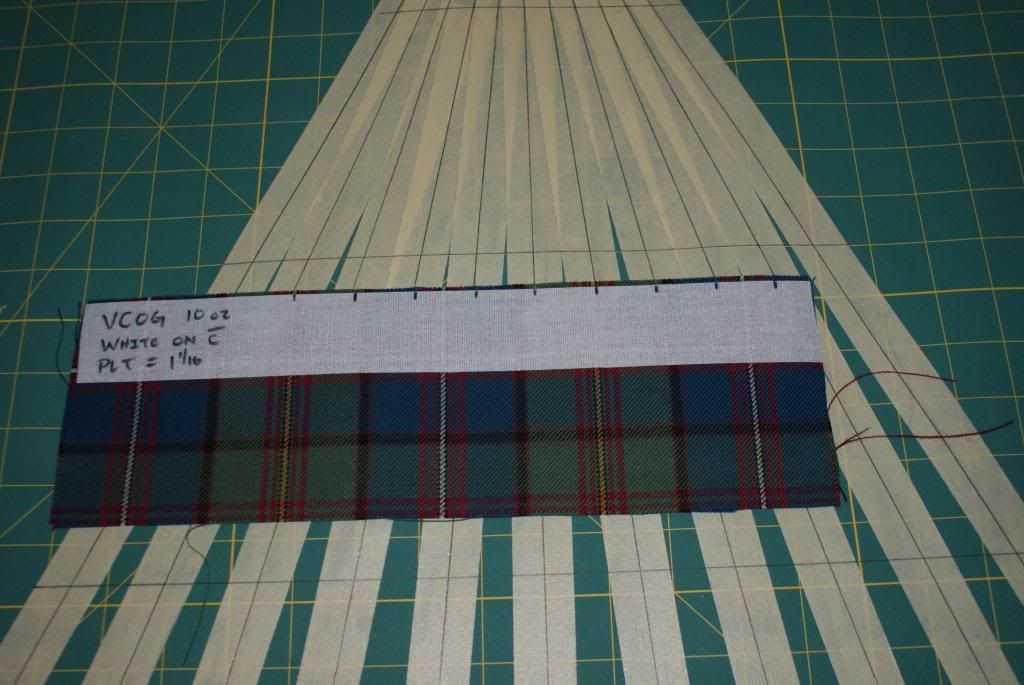
Remember that there were already some lines marked on this Tartan fabric piece?
Here is the same pic from two posts ago.
I just sort of tossed the fabric strip on the table to take this photo but notice that it is almost lined up with the grid lines. But now count how many divisions there are in one Sett. Nope, not the six from before and not the four from before. Now there are five divisions in each Sett. The spacing is now just less than 1 1/8 inch. A little wide but not too much.
But no element of the Tartan is aligned with the edge of a pleat. I will not lose an element when I taper the pleat.
This is the spacing I will use for this kilt.
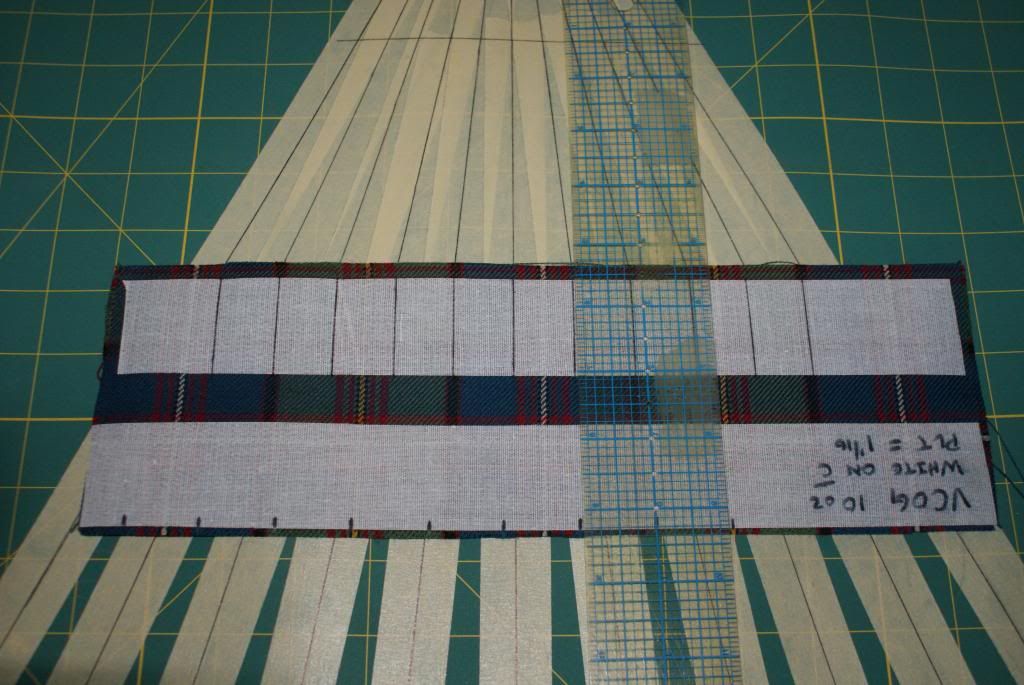
OK, I've determined the correct spacing and width of the pleats. Now I just have to mark my fabric strip.
I'm going to do this as accurately as I can.
Please notice that I am using the upper edge of the Tartan strip. I am then using a ruler to draw a line straight down from where the grid line crosses the Tartan pattern.
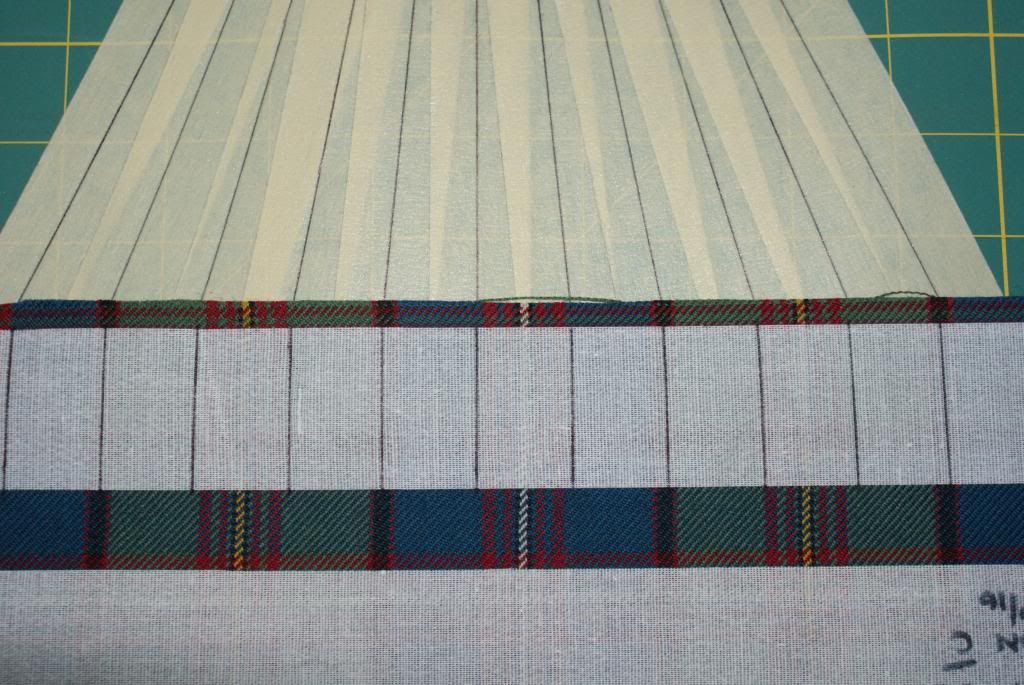
And here is the finished pleat lay-out pattern.
Pretty slick huh? Everything looks good. The Sett of the Tartan is evenly divided into equal spaces. No element of the Tartan will be lost in the tapering. And here is the cool part.
When you have done this just once, you can do almost any Tartan in less then three or four minutes.
I'm going to take a break for tonight. I'll take the pics for the next part of this tutorial at the shop in the morning.
The next steps are how you use the fabric strip to mark your fabric in preparation for sewing.
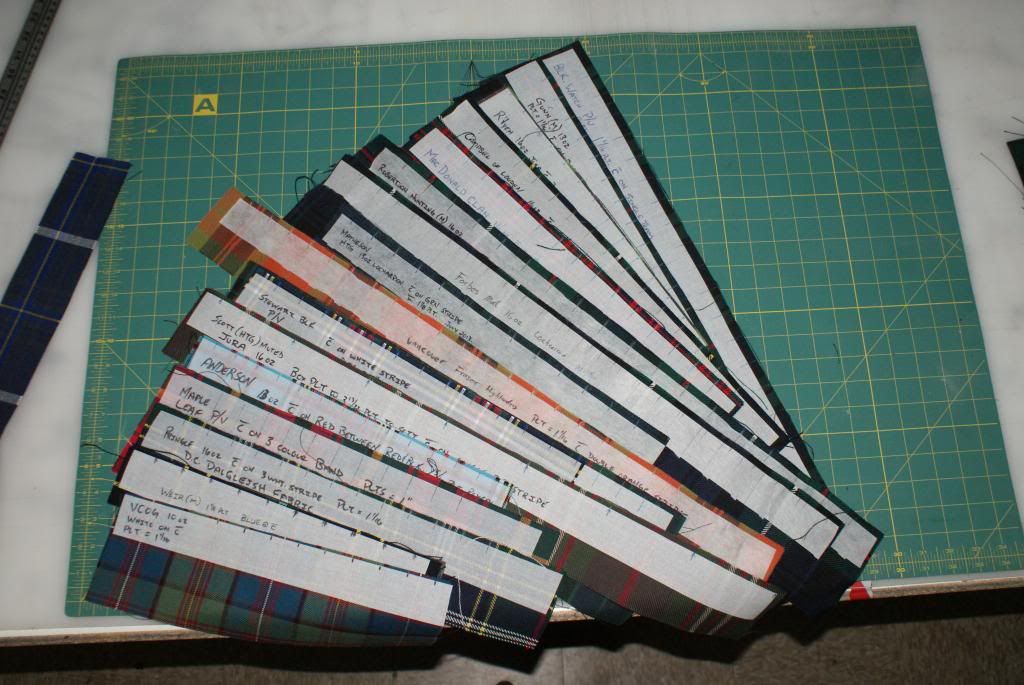
Oh, remember that I said that we have been using the method at Freedom Kilts for a while now. And remember that I said we save the fabric strips for the next kilt.
Here are just a few of the strips we have on file. Note how many different Tartans. This is sort of proof that this really does work.
OK, until tomorrow.


Bookmarks