|
-
22nd March 07, 06:00 AM
#51
Excellent work! I feel your pain. The first corduroy kilt I made took forever, or so it seemed. You will notice if you get the naps missaligned. It will show in the light but if you feel the fabric, brush it in one direction, you can feel the nap as well as see it. Give it a try. I have buried the joins in the pleats with no problems. It seems to me, that on mine, they just end up there naturally most of the time. Good luck on sewing in the hem. It is best to cut corduroy rather than rip it, as you can see, from your pics, it left a rippled edge. this stretch will increase the length of that hem. Spritz it with water and use your steam iron to get it to lay flat before you attempt to sew in the hem. It will make the hem flatter and the pleats lay flatter when you get them in. Also be prepared for the bulk you will get when youget the pleats in.
When you get to the pleats it is going to be really thick and difficult to get under the presser foot. Be patient and go slowly and have alot of extra needles on hand! This stuff is slippery and can get away from you as you may have found out when joining it together.
I have read, with interest, your past posts. It impresses me that so many are starting to make thier own kilts. The pleasure and pride from wearing your own handmade kilt is immeasurable. More should take it up and give it a try.
Keep up the good work.
-
-
22nd March 07, 04:57 PM
#52
 Originally Posted by Gaian

Excellent work!.... Good luck on sewing in the hem. It is best to cut corduroy rather than rip it, as you can see, from your pics, it left a rippled edge. this stretch will increase the length of that hem. Spritz it with water and use your steam iron to get it to lay flat before you attempt to sew in the hem....
When you get to the pleats it is going to be really thick and difficult to get under the presser foot. Be patient and go slowly and have alot of extra needles on hand! This stuff is slippery and can get away from you as you may have found out when joining it together....
Keep up the good work.
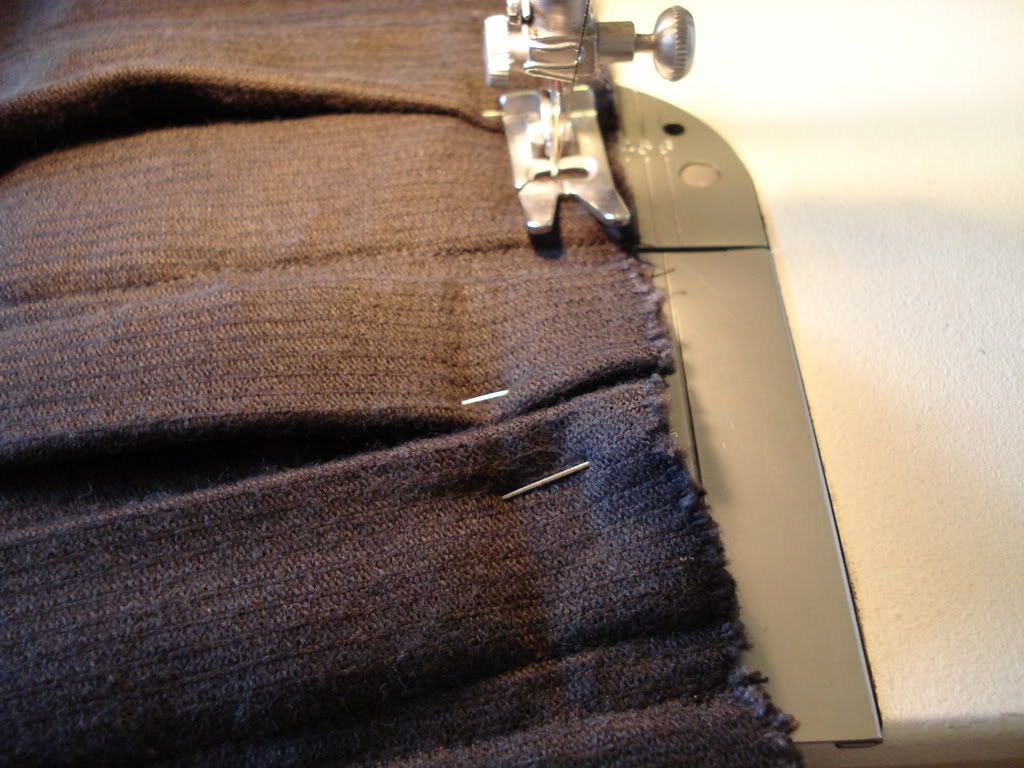
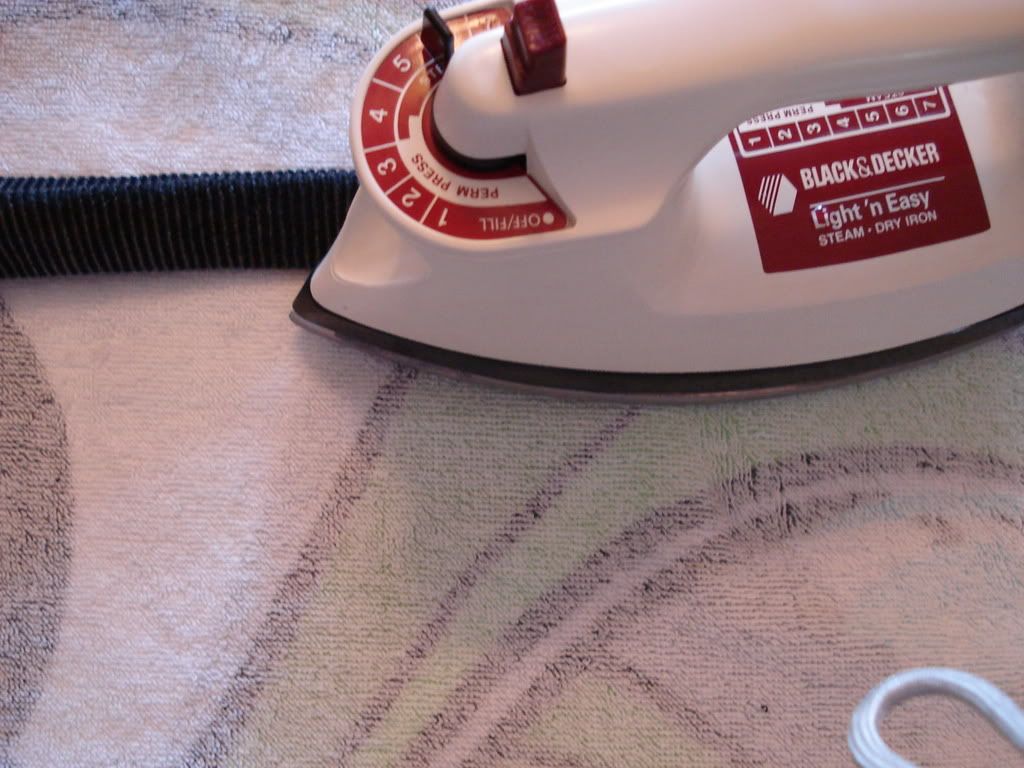
Thank you! I didn't notice a ripple, but then, I did press the hem down well-it seems to have sewn in straight. I also didn't have much difficulty with the thickness of the pleats. My sewing machine is a bit of a wimp, but it did fine. This corduroy is not light, but it's not one of the really heavy ones either.
Today, I got the waistband on, but then the kids took over my work space, so the belt loops will happen tomorrow. I also got a few heavy duty snaps which will be hidden at the far right of the over apron and the far left of the under apron. This is a bold move, since the recipient isn't immediately at hand to try it on, but, if the snaps are not in exactly the right place, they can be moved easily.
Loading pictures now...
Be well,
-
-
22nd March 07, 05:07 PM
#53
AlanH recommends anchoring the top of the pleats before putting on the waistband, so I did so. It only took about 2 minutes.
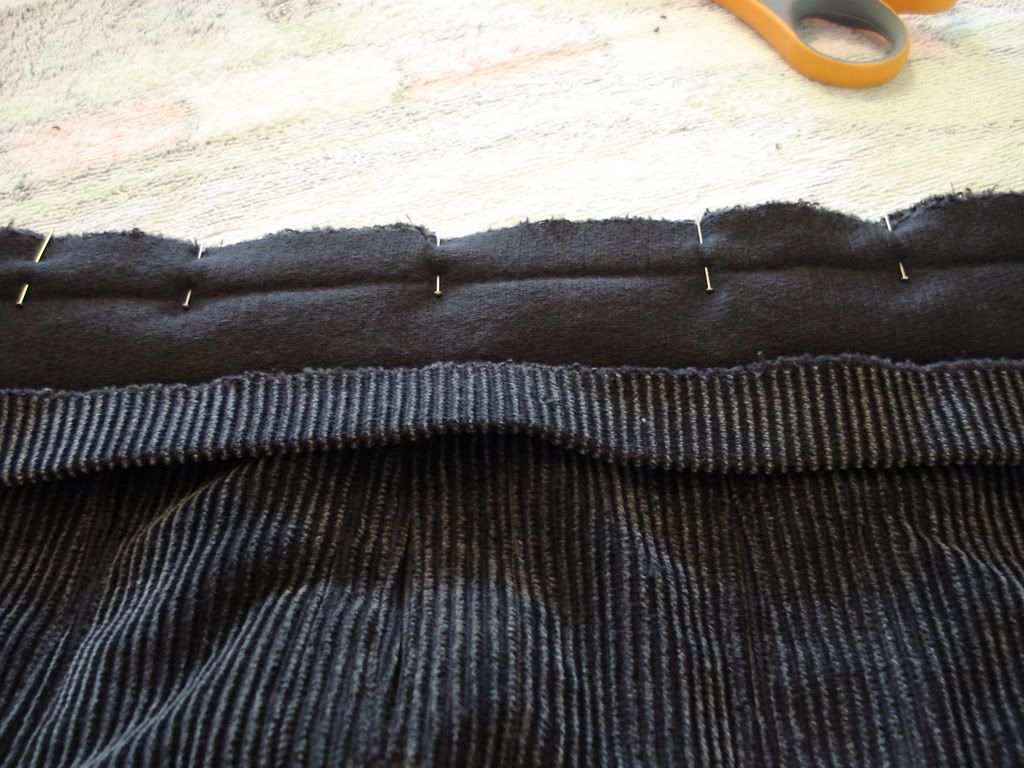
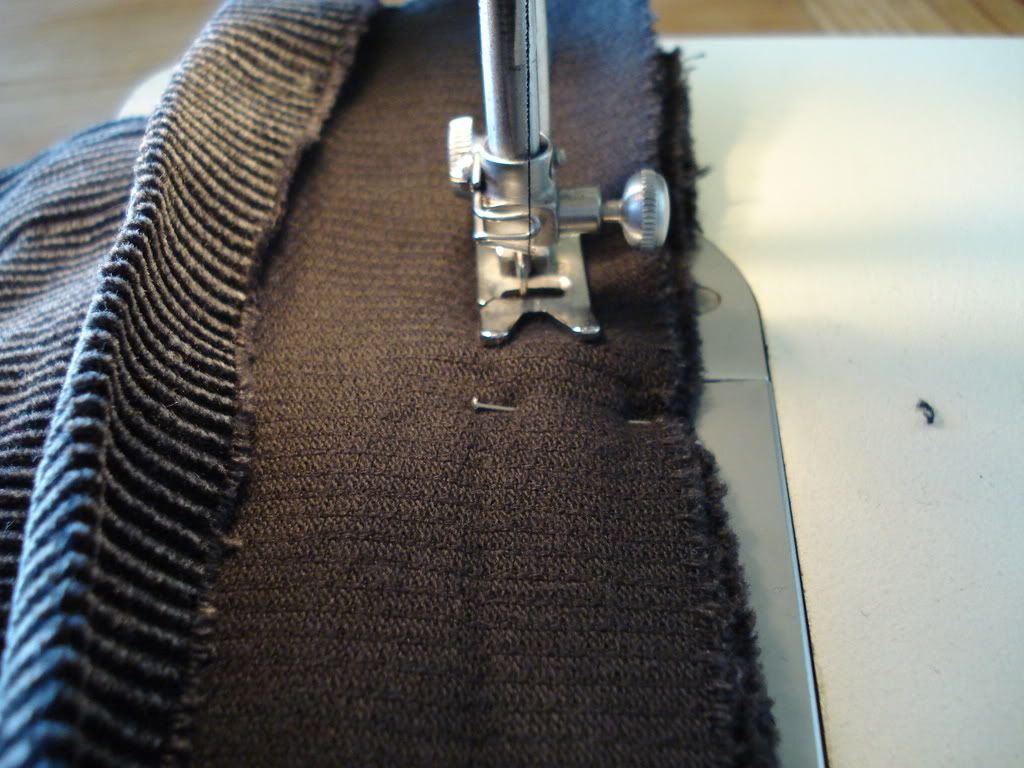
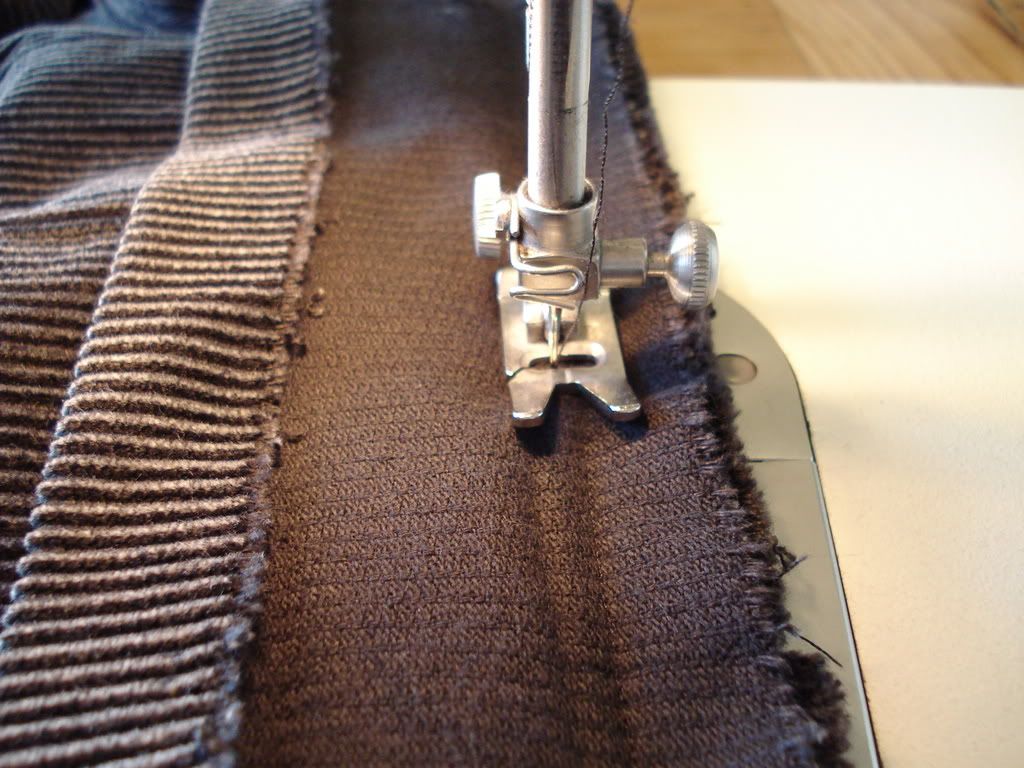
Then, I cut out a 4" wide strip of material (two, actually, and joined them so it would be long enough to go all the way to the end of the under-apron)
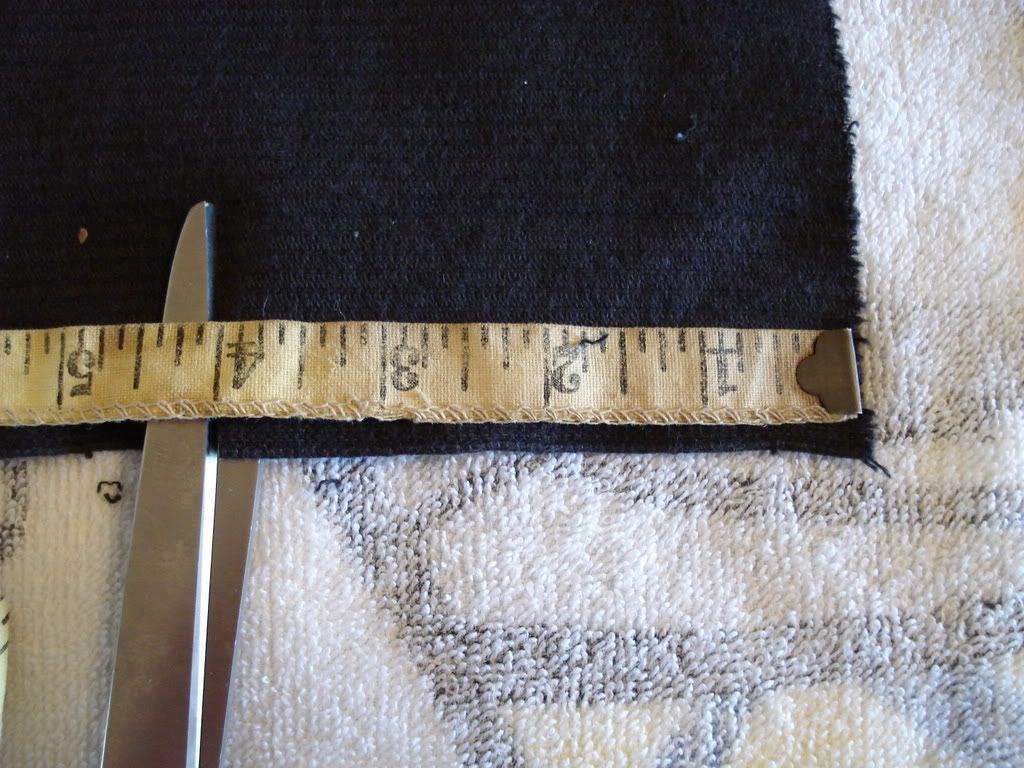
At this point, I decided to cut the excess fabric off the under apron side-I angled this a bit-for modesty.
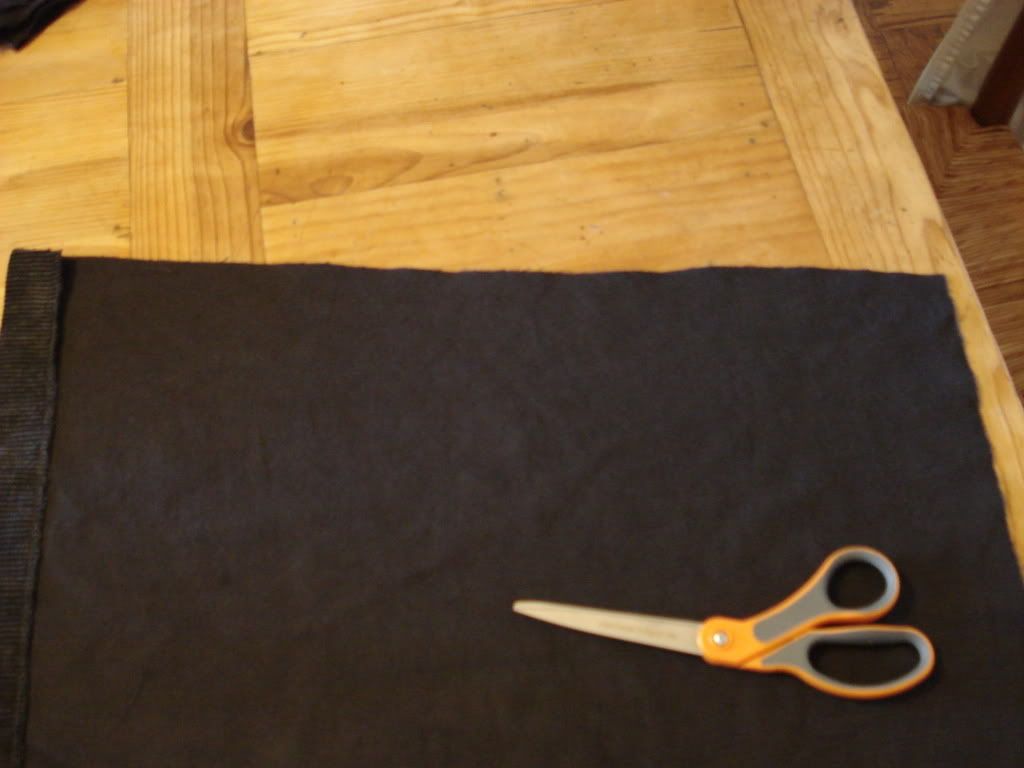
And ironed it for hemming
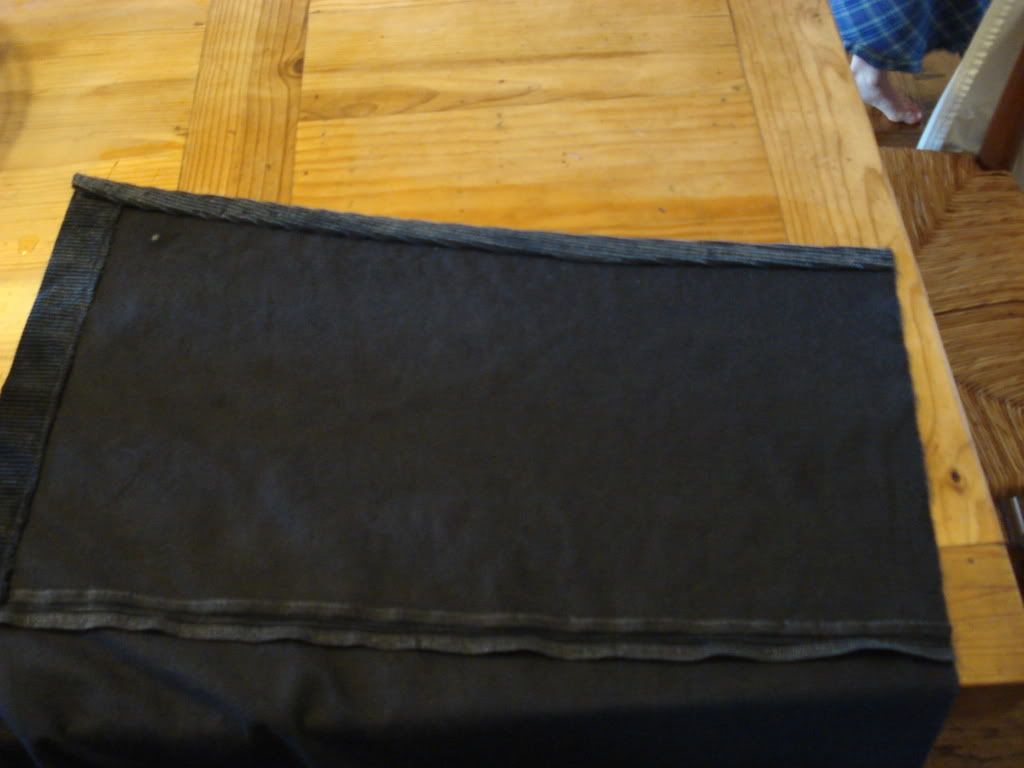
I didn't take a picture of the actual hemming-just did it on the machine.
More pictures are uploading...
Be well,
-
-
22nd March 07, 05:13 PM
#54
I decided to iron the waistband folds, just for reference, before I pinned it onto the kilt

Then I pinned it in place-lots of pins
And sewed it on
Because I'm a perfectionist, obsessive-compulsive, I added another line of stitching (I felt the first one was not straight enough and I also figured this would strengthen the waistband).
I have more pictures, but must be a mom now and take my son to piano lessons.
Be well,
-
-
22nd March 07, 07:06 PM
#55
Good piano lesson, now I can post the last pictures for the day.
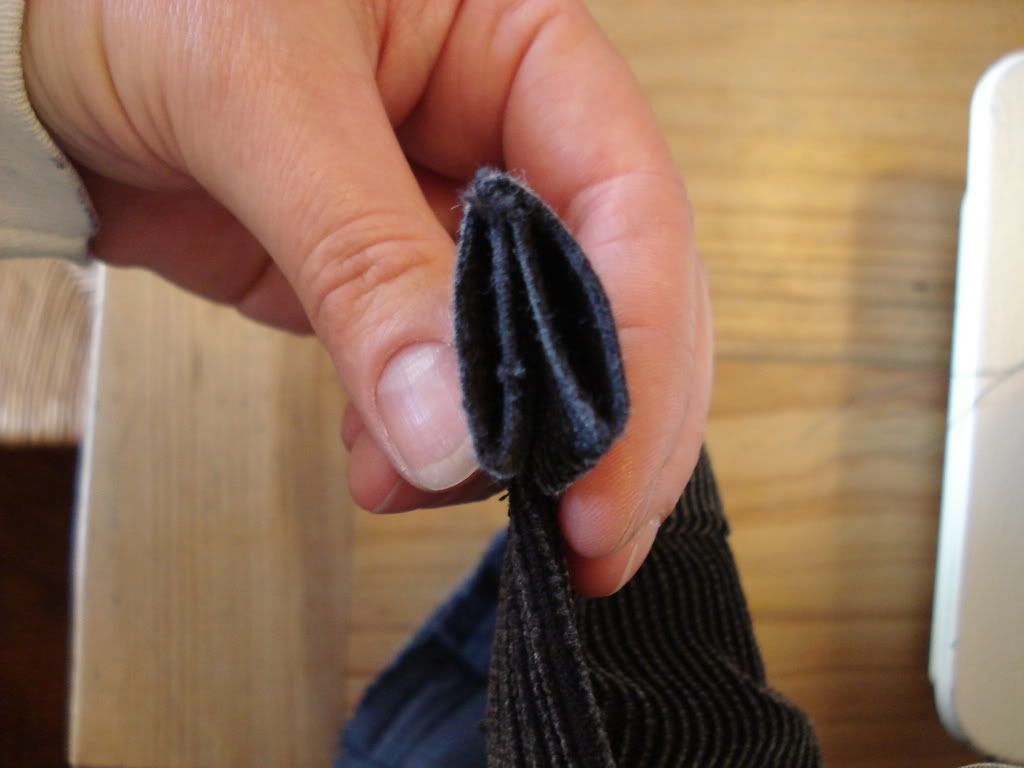
Here's an edge-on view of the waistband, like the line drawing in AlanH's instructions.
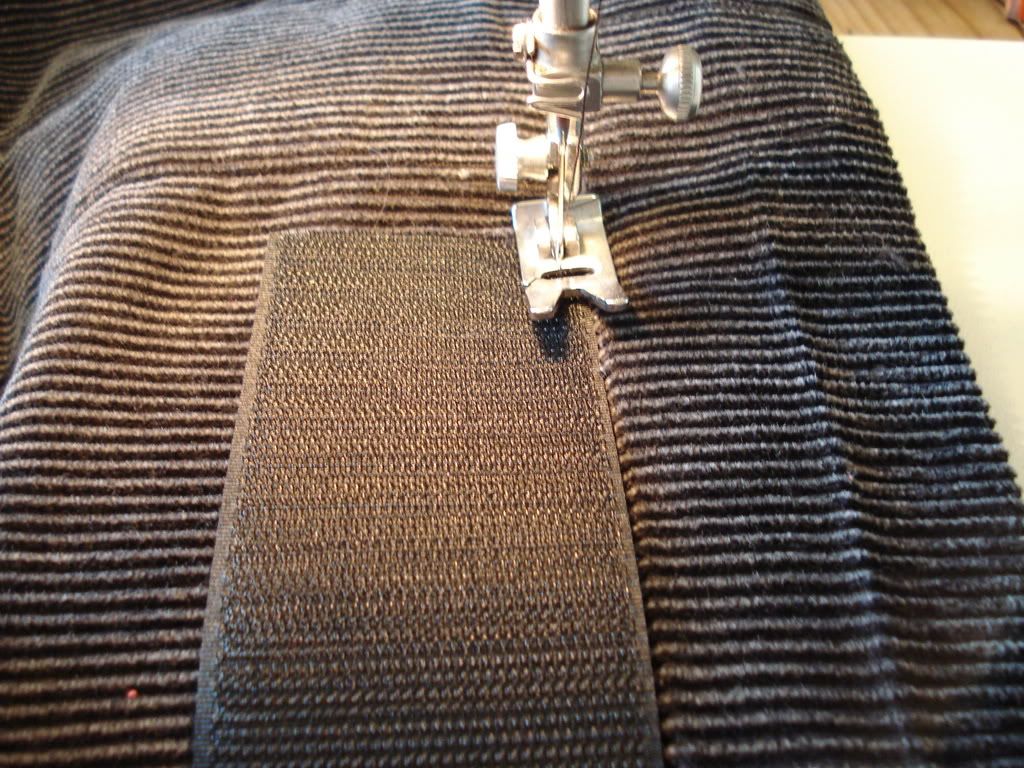
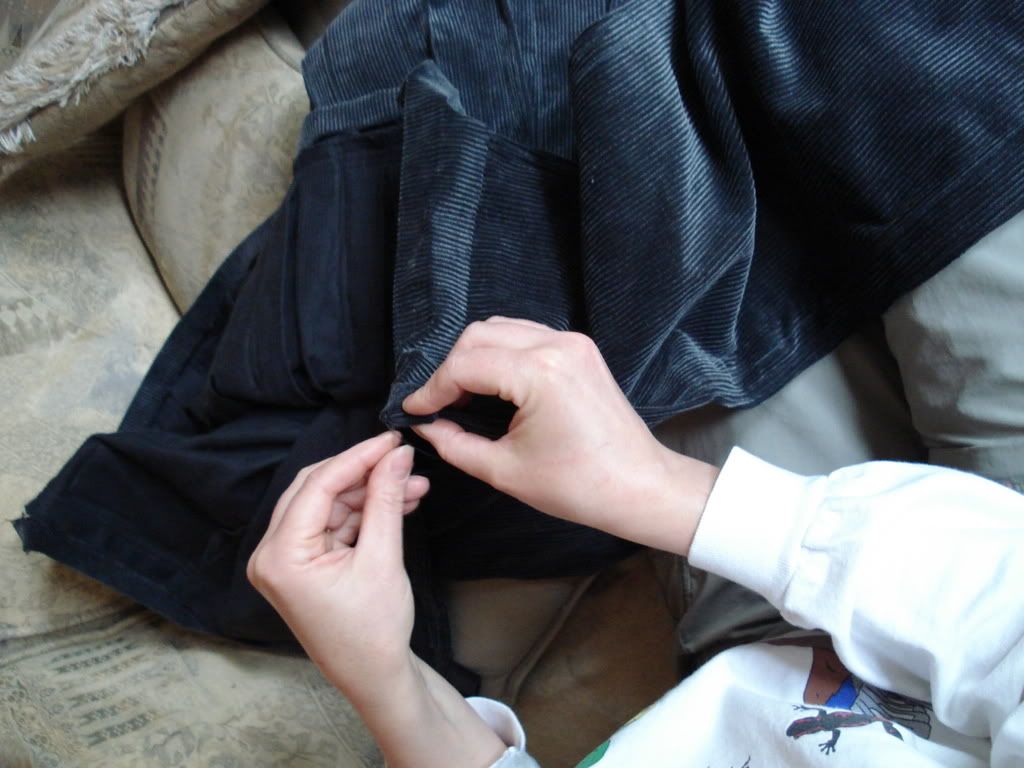
I decided to sew the velcro onto the under-apron before sewing the waistband all the way on. I chose to put the hooks on this part-less likely to cause any visible damage to the fabric. I put the softer stuff on the over apron. My sewing machine HATES this aspect of velcro-thread keeps breaking. I muddled through nonetheless.
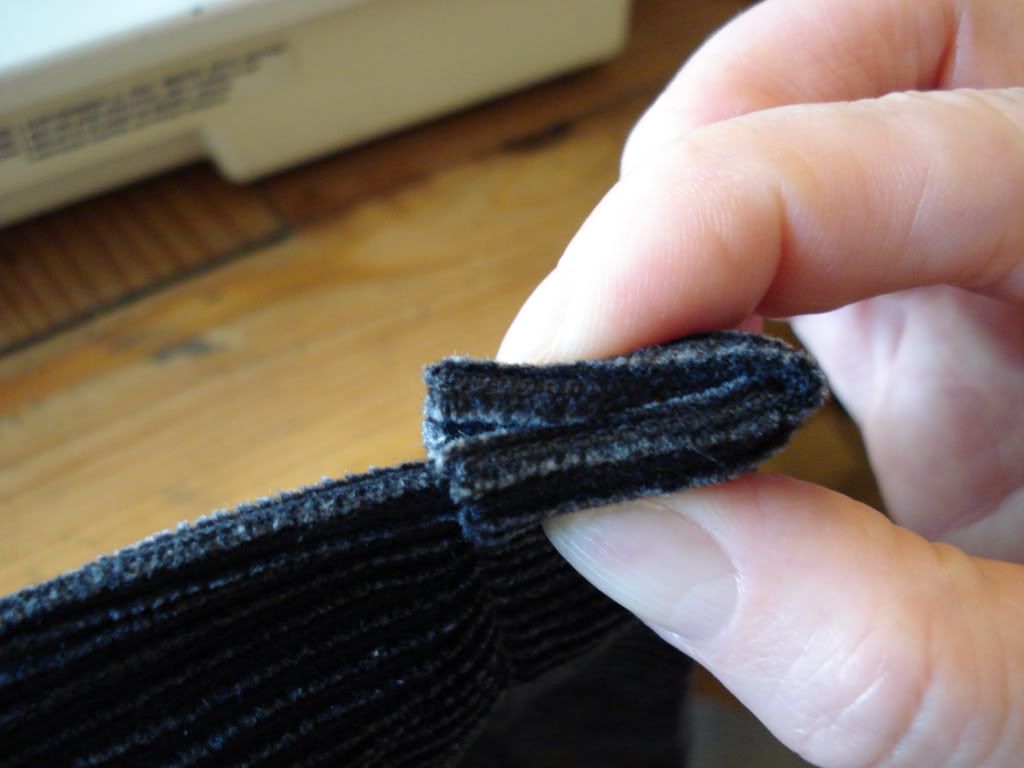
Folding in the edge of the waistband
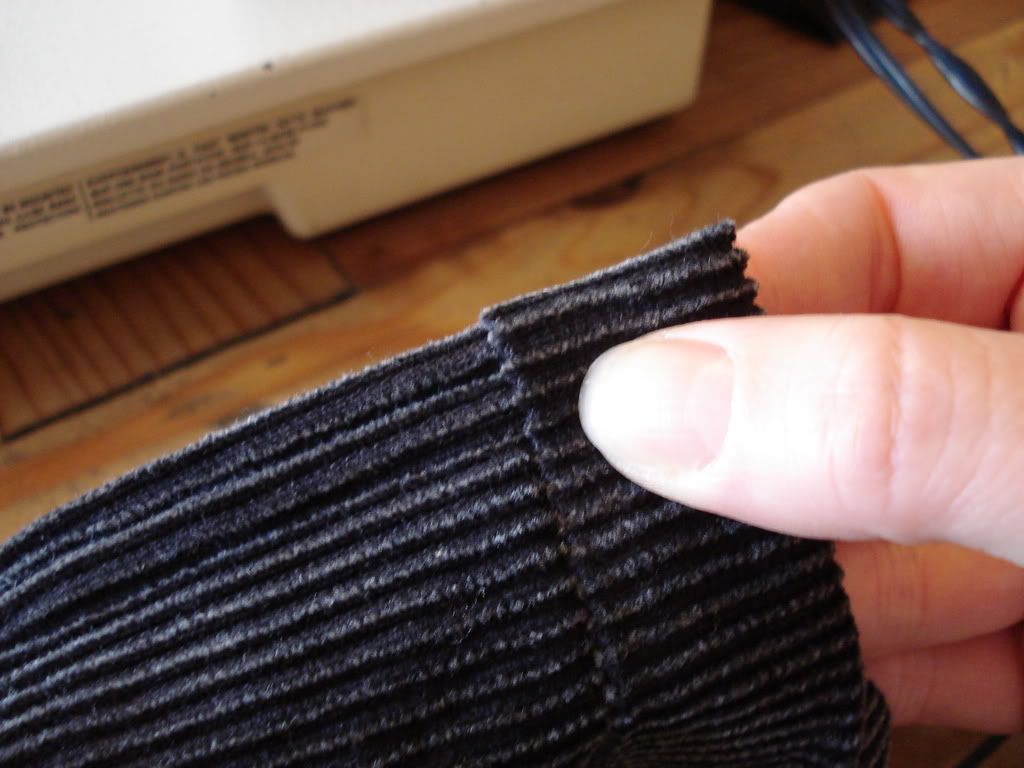
Here's what it will look like on the right hand edge of the over apron
Now, the tedious hand sewing of the waistband, because, as AlanH wrote, "If you machine sew it you will also see a line of stitching in your waistband. That's no big deal to anyone but a mad perfectionist, but hey, maybe you have obsessive-compulsive issues". Gee, Alan, we didn't even know each other that well when you wrote this manual, how'd you learn to describe me so well? 
The last bit tomorrow!!!!!
Be well,
-
-
22nd March 07, 08:21 PM
#56
Looks like a wonderful job!
I'm a costume maker and have been thinking of making an attempt at my own kilts......you're giving me a little heads up on what to expect....Thank you!
-
-
22nd March 07, 08:33 PM
#57
Originally Posted by Black Skot
I'm a costume maker and have been thinking of making an attempt at my own kilts......you're giving me a little heads up on what to expect....Thank you!
Just an FYI she's using The X-Kilt manual as the guide for it.
Marc
-
-
23rd March 07, 04:55 AM
#58
Thanks for putting all of the time in to write this thread up. Its great! I/we won't be starting with Corduroy on our first X-kilt but I would like to have one, down the line.
My wife and I are planning to try and make our first X-kilt over our "vacation" (aka the kids spring break), so I'm glad to read as much about it as I can before hand. This is a great write-up. I'm feeling more and more excited about starting this project.
-
-
23rd March 07, 10:41 AM
#59

This is a great thread (and great threads, too ). I am working on my own xkilt (cotton twill, and last night I made it as far as three outside pleats sewn) and having some photos to go along with Alan's descriptions is quite helpful. I had nearly the same reaction when I got to putting the velcro on the outside apron strip.
Many thanks.
-
-
23rd March 07, 11:06 AM
#60
*I* am not obsessive-compulsive...
*twitch*
-
Similar Threads
-
By andyfg in forum General Kilt Talk
Replies: 18
Last Post: 29th June 06, 09:23 AM
-
By Riverkilt in forum Contemporary Kilt Wear
Replies: 16
Last Post: 19th February 06, 04:27 PM
-
By Kilted Taper in forum Show us your pics
Replies: 18
Last Post: 14th February 06, 12:10 PM
-
By Geoduck in forum Contemporary Kilt Wear
Replies: 2
Last Post: 22nd December 05, 09:29 PM
-
By Jewddha in forum General Kilt Talk
Replies: 5
Last Post: 19th October 05, 07:55 AM
 Posting Permissions
- You may not post new threads
- You may not post replies
- You may not post attachments
- You may not edit your posts
-
Forum Rules
|
|


Bookmarks