|
-
Basting and pressing is one of those skills that every kilt wearer should be familiar with. If for no other reason than to explain it to who will actually push a needle and wield an iron on their kilt.
Basting is sort of like pinning. It holds layers of fabric in their relative position as you work on the garment.
The difference is that basing will not leave divots in the fabric when you press down hard with an iron.
The basic principle of basting is to get the pleats aligned so that the pleats will hang straight, parallel and swish the way we like them to.
You are going to need some tools.
A hand sewing needle and thimble.
Some plain, white, cotton thread.
A tape measure or ruler.
Some straight pins.
And iron and pressing cloth.
And a table where you can lay the kilt out as you work.
First - You look at the pleats at the bottom of the Fell area. This is the bottom of where the pleats are sewn and tapered.
You are looking closely at the Tartan pattern. You want to insure that a line or stripe of the Tartan goes straight down the pleat and stays the same distance away from the crease all the way down.
Next you are looking at the width of the pleat from the bottom of the Fell Area all the way down to the Selvedge edge.
The problem we run across with a kilt is that the Fell Area is tapered. You cannot lay a kilt flat. If you lay a kilt on a table so that the Fell Area is flat, the pleats will splay outward. So when basting and pressing you have to lift the Fell or let it drape over the edge of your ironing board.
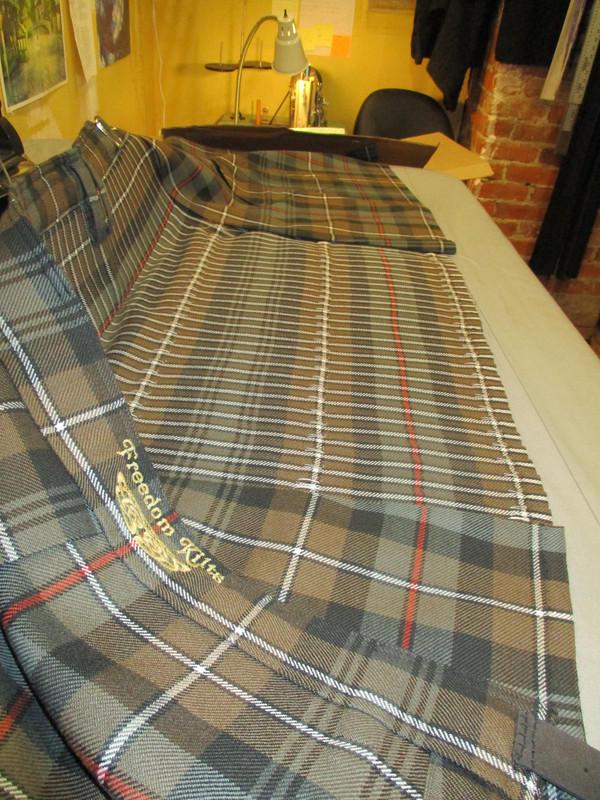
I find that working with the Selvedge edge towards as I baste to work best for me. It allows me to sight down the pleats to see if the Tartan pattern is the same distance from the crease and does not waver to wander down the pleat.
Pick up the first pleat on the left. (The left as you are looking at the kilt on the table and the left side when you are wearing the kilt)
Check the current crease. Insure that the Tartan pattern is straight and the same distance from the creased edge all the way down.
If not, you may have to shoot some steam at the existing crease to soften the fibers enough for you to roll the edge between your fingers and pin what will become the new, corrected, crease edge.
Then pick up the next pleat and do the same thing.
Repeat all the way across with each pleat.
Once you are satisfied that the Tartan pattern is straight, go up to the bottom of the Fell area and with a tape measure find the width of the exposed area of the second pleat.
You are going to work in a line from left to right across the kilt and sew three or four lines of basting stitches, temporarily fastening one pleat to the next as you work left to right.
Notice please that I used the word 'temporarily'. Basting is just temporary, like pinning, and will be taken out once you have pressed. Don't knot the thread and don't try to stitch like you were permanently sewing the pleats.
Don't pull the basting stitches so tight that you pucker the pleats. Just snug without slack.
Here is a close up of basting stitches.
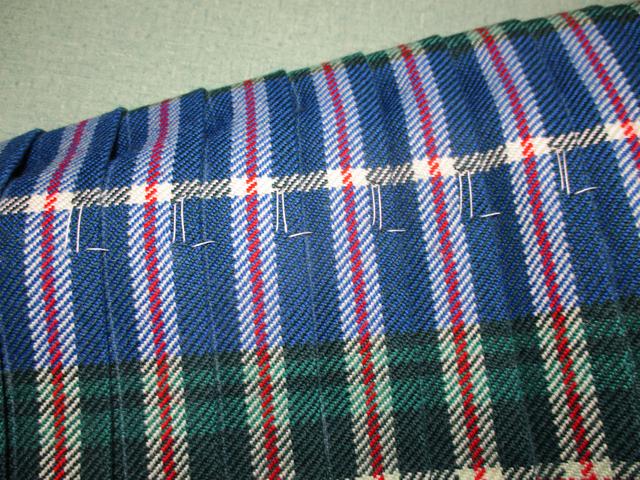
Once you have worked your way across the kilt with one line of stitches do the same with a second and third.
You should now be able to pick the kilt up and move it around without it flopping. The pleats should stay in their relative position one to the next.
At this point I will usually double check that the width across the pleats from apron to apron, measured up at the bottom of the Fell Area, is the same as it is down at the Selvedge.
If not fix it by pulling out some basting stitches and re-stitching. Accuracy and attention to detail at this point will insure that your kilt looks and swishes perfectly.
Now, you can fire up your iron. Remember that we do not iron a kilt, we press. The iron is used to create steam which softens the fabric fibers allowing the fabric to take a sharp crease.
If you are using a home iron you may find that it will not create enough steam to fully soften the fibers. A bit of water sprayed on a pressing cloth will usually create all the steam you need.
Pressing Cloth - - - This is what will protect your kilt from the hot sole plate of the iron. Without a pressing cloth you may leave shiney spots where the fibers have burnt.
A pillow case makes a really nice pressing cloth but don't use your wife's good linens.
Lay your kilt so that the pleats are flat and the selvedge straight. Put down your pressing cloth and spray a light mist of water.
Puck up your iron and lay it on the pressing cloth - and press straight down. You want to press down quite hard. The whole weight of your body if your table can take it without collapsing.
Then pick the iron up - reposition over a bit and repeat. Make sure that your iron is on a setting so that it is hot enough to create steam and the water will form steam. It is the steam that does the work.
Do this over the entire pleated area of your kilt. Make sure you get right down to the selvedge edge. As you work every once in a while lift the pressing cloth and check that your pleats have not moved and that the creases are becoming sharp.
Do not lift or move the kilt at anytime during the pressing without letting the fabric cool. If you cannot press the entire kilt at one time, let the fabric cool before repositioning the kilt.
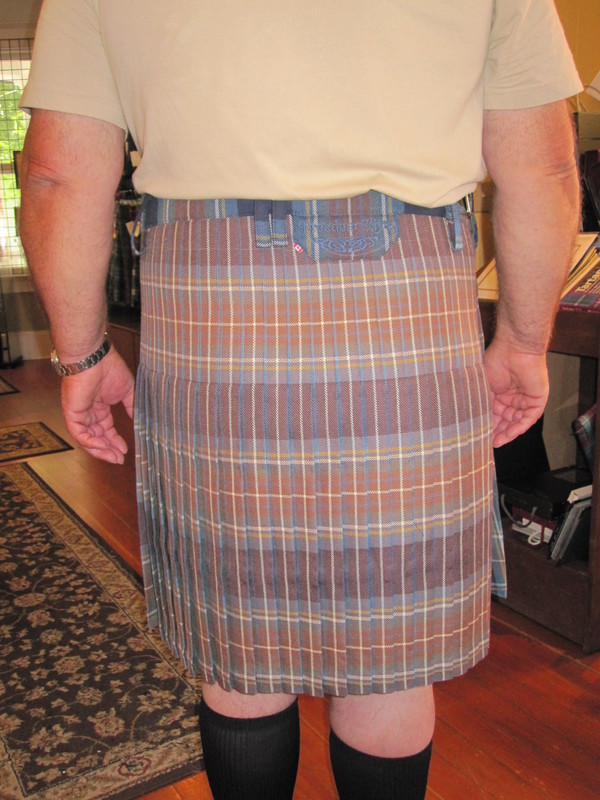
When you are done check all your pleats. They should all still be straight and parallel.
Now when you put your kilt on, the pleats should appear from just a few feet away not to be pleated at all.
Steve Ashton
www.freedomkilts.com
Skype (webcam enabled) thewizardofbc
I wear the kilt because: Swish + Swagger = Swoon.
-
The Following 12 Users say 'Aye' to The Wizard of BC For This Useful Post:
Baeau,Blaidd,CameronCat,fluter,imbrius,jthk,Me cousin Jack,Nomad,pofloyd1,Standard,StevenG,Tobus
Tags for this Thread
 Posting Permissions
- You may not post new threads
- You may not post replies
- You may not post attachments
- You may not edit your posts
-
Forum Rules
|
|


Bookmarks